

How to Repair Chips and Cracks in Natural Stone Tiles
How to Repair Chips and Cracks in Natural Stone Tiles
Natural stone tiles have a captivating charm that adds a touch of luxury to Australian homes. These tiles, crafted from materials like marble, granite, limestone, and travertine, exude timeless elegance that complements various interior styles.
However, over time, chips and cracks can mar the pristine appearance of these tiles. Addressing such imperfections not only restores aesthetics but also ensures the functionality and longevity of these exquisite surfaces.
To learn how to best repair chips and cracks in your natural stone tiles, please keep reading below!
Understanding Natural Stone Tiles
Natural stone tiles come in a variety of types, each with its unique characteristics and vulnerabilities. Marble tiles showcase elegance with their veining patterns, while granite tiles are celebrated for their durability.
Limestone tiles, on the other hand, exhibit a softer look but are prone to scratches. Recognising the distinct properties of these stones helps in understanding how chips and cracks can occur and how they should be repaired.
Common Causes of Chips and Cracks
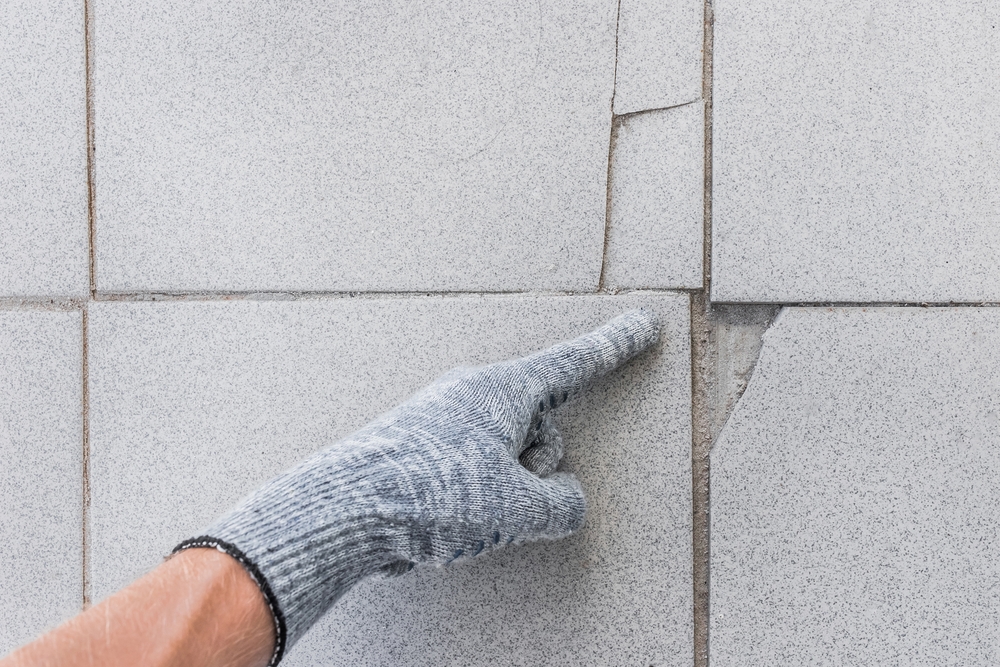
Chips and cracks can stem from various sources. Impact from heavy objects, such as dropping a heavy pot or pan, can result in chipped edges or cracked surfaces. Settling and movement of the substrate over time can also lead to cracks in the tiles. Additionally, temperature fluctuations and moisture can contribute to the deterioration of the stone, causing it to weaken and develop cracks.
Assessing the Damage
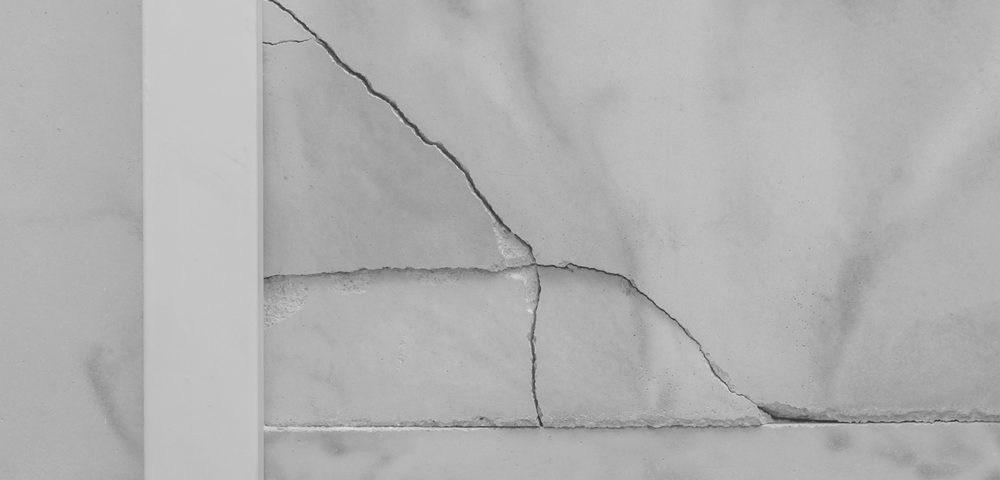
Distinguishing between chips and cracks is essential in determining the appropriate repair approach. Chips are typically smaller, localised imperfections that affect only a small area of the tile’s edge or surface. Cracks, on the other hand, traverse across the tile, varying in width and depth. Assessing the severity of the damage helps in planning the repair process effectively.
Tools and Materials Needed
Repairing chips and cracks requires specific tools and materials. Essential tools include a putty knife, epoxy or resin filler, and a diamond blade saw for cutting and shaping the filler. Choosing the right filler material is crucial; epoxy or resin fillers are commonly used for their durability and compatibility with various stone types.
Repairing Chips in Natural Stone Tiles
To repair a chipped tile, the damaged area needs to be cleaned and prepared. Loose debris and dirt are removed to ensure proper adhesion of the filler. Epoxy or resin filler is then carefully applied to the chip, ensuring it is level with the tile’s surface. Blending the filler’s colour and texture with that of the stone is crucial to achieve a seamless repair.
Addressing Cracks in Natural Stone Tiles
Repairing cracks involves stabilising the damaged area and preventing further propagation. Flexible epoxy or a mix of stone dust and epoxy can be used to fill the cracks. This mixture ensures that the repair remains intact even if the tile experiences slight movement. The mixture is applied to the crack, allowed to cure, and then honed to match the tile’s surface.
Honing and Polishing the Repaired Area
After the filler has cured, honing the repaired area smoothens the surface, creating a seamless transition between the filler and the stone. Polishing follows, restoring the shine and lustre to the repaired tile. This process ensures that the repaired area blends seamlessly with the surrounding tiles.
Matching Repaired Area with Surrounding Tiles
Blending the repaired area with the surrounding tiles is essential for a cohesive look. Colour matching and pattern alignment ensure that the repair is virtually invisible. Enhancers or sealants can be applied to the entire surface to create a uniform appearance, enhancing the natural beauty of the stone.
Preventive Measures
Preventing chips and cracks involves using rugs or protective pads in high-impact areas, such as kitchen countertops. Proper installation, including using suitable substrates and supports, helps minimise the risk of damage. Regular maintenance, including cleaning and resealing, further protects the tiles from wear and tear.
DIY vs. Professional Repairs
For minor damage like small chips, DIY repairs can be effective and budget-friendly. However, when dealing with extensive cracks or multiple damaged tiles, seeking professional assistance is advisable. Professionals have the expertise and tools to handle complex repairs and ensure a flawless result.
Case Studies Successful Tile Repairs
Real-life examples showcase the success of tile repairs. Chipped tiles have been meticulously restored to their original beauty, seamlessly integrating with the surrounding tiles. Cracked tiles have been stabilised and repaired, saving homeowners the cost of replacement.
Cost Considerations
Budgeting for repairs depends on the extent of damage and the repair approach. DIY repairs are cost-effective for minor damage, requiring only basic tools and materials. Professional repairs involve labour costs but are necessary for complex damage that requires expertise and precision.
Eco-Friendly Approaches to Repairs
Choosing sustainable materials for repairs contributes to environmental preservation. Using epoxy and fillers with minimal environmental impact helps reduce the carbon footprint. Repairing damaged tiles rather than replacing them also promotes sustainability.
Preserving the Value of Natural Stone Tiles
Repairing chips and cracks in natural stone tiles is a proactive approach to maintaining their value and longevity. By addressing imperfections promptly, homeowners can ensure that their investment in natural stone tiles continues to enhance their living spaces for years to come.
Final Thoughts
Repairing chips and cracks in natural stone tiles is a skill that empowers homeowners to preserve the beauty and functionality of these exquisite surfaces. Understanding the nuances of different stone types, assessing the extent of damage, and using the right tools and materials are key to successful repairs. Whether opting for DIY repairs or seeking professional assistance, the goal is to restore the charm of natural stone tiles and protect the value they bring to Australian homes.
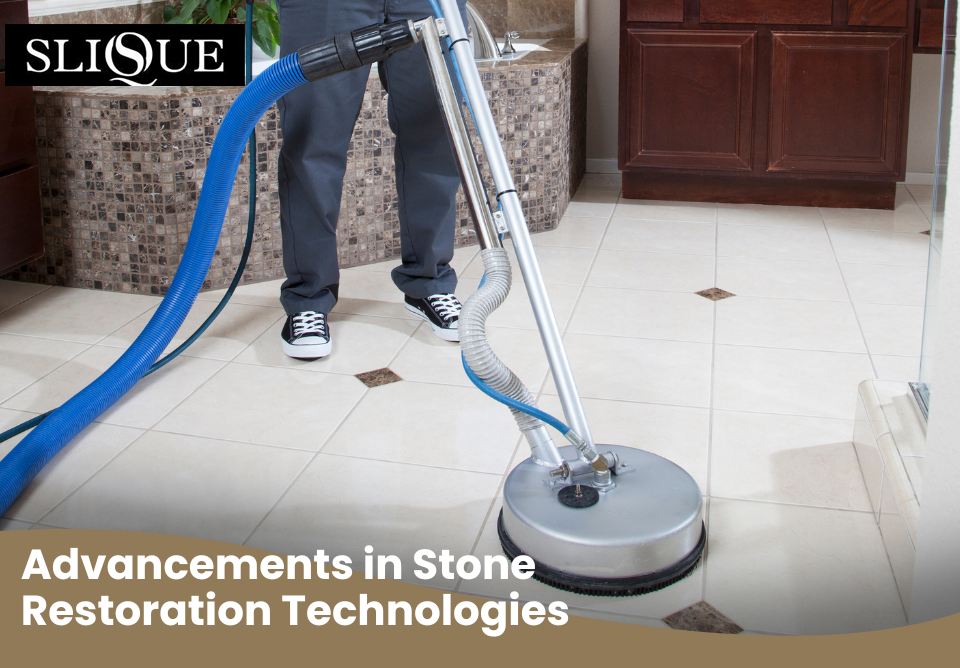
At Slique, we understand the importance of keeping your natural floor tiles in top condition. Our team of experienced professionals can provide you with expert cleaning services, using the latest equipment and eco-friendly cleaning products.
For all your natural stone floor cleaning and polishing needs in Sydney, please call SLIQUE today on 02 9648 0395, or leave an enquiry.

