

Essential Tools for Successful Natural Stone Restoration
Essential Tools for Successful Natural Stone Restoration

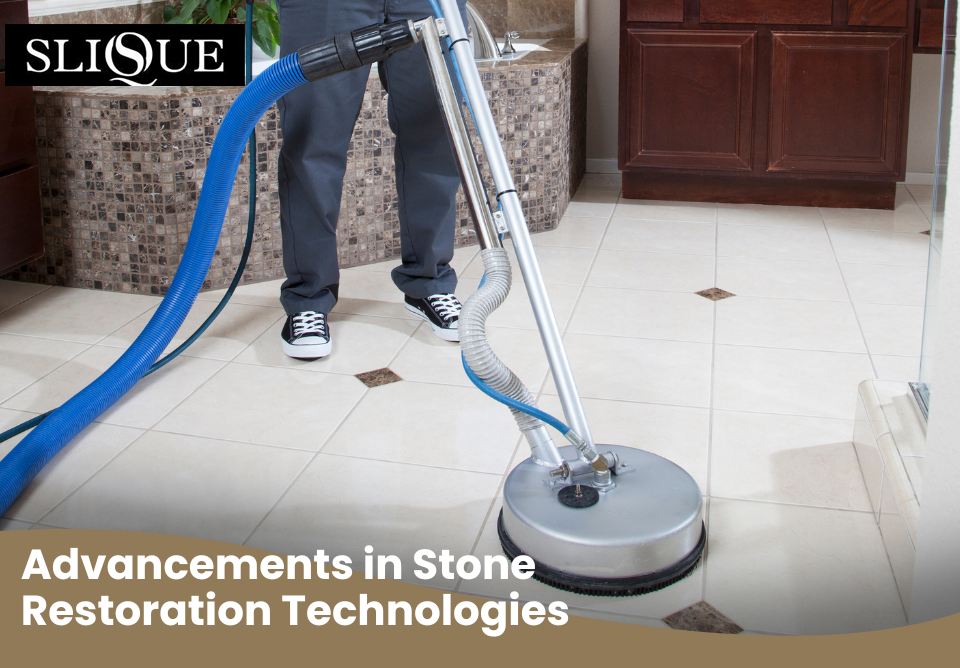
Natural stone surfaces add beauty and durability to homes and commercial spaces. Over time, wear, stains, and weathering can affect their appearance. Restoring stone to its original condition requires the right approach and tools. Without proper equipment, the process can be ineffective or even damaging.
If you’re looking for expert tile and stone restoration, choosing the right tools makes all the difference. Whether you’re a professional or a homeowner tackling a DIY project, knowing which tools to use ensures the best results. This guide covers the must-have equipment for effective natural stone restoration.
1. Diamond Grinding and Polishing Pads
Resurfacing is the first step in stone restoration, removing scratches, stains, and dullness. Diamond grinding and polishing pads are essential for this process. These industrial-grade pads contain diamond particles, providing precise abrasion to refine stone surfaces.
How They Work
- Grinding pads eliminate deep scratches, etching, and uneven areas. They range from coarse to fine grit.
- Polishing pads restore smoothness and shine after grinding, enhancing the stone’s natural beauty.
Why They’re Important
Without diamond pads, deep imperfections remain, and polishing becomes ineffective. A multi-step process—starting with coarse grits and progressing to finer ones—ensures a flawless finish.
Practical Application
A Sydney hotel revitalised its marble lobby using diamond pads. Years of foot traffic had left dull patches and visible scratches. By following a structured polishing process, the hotel restored the marble’s glossy appearance, maintaining its high-end aesthetic.
Those new to restoration can benefit from understanding the process of natural stone restoration, which covers essential techniques and best practices.
2. Wet and Dry Stone Polishers
After grinding, a stone polisher refines the surface, bringing out a smooth, even finish. Wet and dry polishers serve different needs, making it important to choose the right one.
Wet Polishers
- Use water to prevent overheating and reduce dust.
- Minimise surface damage by cooling the stone.
- Best for delicate stones like travertine and limestone.
Dry Polishers
- More convenient for quick polishing jobs.
- Do not require water but need dust extraction.
- Ideal for harder stones like granite.
Choosing the Right One
Wet polishers protect soft stones from heat damage, while dry polishers work well for on-the-go applications. Professionals often use both, depending on the job.
For more insight into choosing the best tools for cleaning natural stone tiles, it’s worth exploring options that suit different stone types and conditions.
3. pH-Neutral Stone Cleaners
Cleaning plays a critical role in stone restoration. pH-neutral stone cleaners remove dirt and stains without damaging the surface, making them essential for both preparation and ongoing maintenance.
Why pH Matters
- Acidic cleaners can etch and dull natural stone, especially marble.
- Alkaline cleaners leave residue, reducing shine over time.
- pH-neutral solutions clean effectively without causing harm.
Application Tips
- Always test on a small area before applying widely.
- Use a soft mop or cloth for even coverage.
- Rinse thoroughly to prevent residue buildup.
A Melbourne restaurant accidentally used an acidic cleaner on its sandstone flooring, causing permanent etching. After switching to a pH-neutral cleaner, the stone’s colour and texture remained intact, avoiding costly repairs.
Choosing the best tile cleaning products ensures long-term protection and helps prevent accidental damage from harsh chemicals.
4. Stone Sealers and Applicators
Once restored, stone surfaces need protection to maintain their appearance. Stone sealers create a barrier against stains, moisture, and wear, prolonging the results of restoration.
Types of Stone Sealers
- Penetrating sealers absorb into the stone, protecting it from within. They work well on porous stones like sandstone.
- Topical sealers form a surface barrier, adding a slight sheen. These are best for high-traffic areas.
Proper Application
Using the right applicator ensures even coverage:
- Microfibre applicators distribute sealers smoothly.
- Sprayers work efficiently for large surfaces.
- Brushes help with detailed applications along edges.
A Brisbane homeowner sealed their travertine patio after restoration. With a high-quality penetrating sealer, they prevented moisture absorption and staining, keeping the stone in pristine condition despite heavy use.
5. Grout Cleaning and Restoration Tools
Grout lines significantly impact the overall appearance of stone surfaces. Grout cleaning tools remove built-up dirt and restore uniformity.
Essential Tools
- Grout brushes effectively scrub away deep-set grime.
- Steam cleaners loosen dirt without harsh chemicals.
- Grout saws allow for easy removal and replacement of damaged grout.
Preventing Future Grout Issues
- Apply a grout sealer to minimise staining.
- Clean spills quickly to prevent absorption.
- Use non-abrasive cleaners for routine maintenance.
A Perth office building restored its granite flooring but overlooked the grout. After using a steam cleaner and applying a sealer, the entire floor looked polished and professional.
6. Stone Crack Repair Kits
Cracks and chips are common, especially in high-traffic areas. Stone repair kits offer a simple solution to fix these imperfections and prevent further damage.
Key Components
- Epoxy or resin fillers bond cracks and chips seamlessly.
- Colour-matching pigments blend repairs with the stone’s natural appearance.
- Polishing compounds restore a smooth, uniform finish.
Application Process
- Clean the damaged area thoroughly.
- Apply the filler and shape it to match the surrounding surface.
- Let it cure, then polish for a flawless result.
A heritage building in Adelaide suffered chipped sandstone steps due to heavy foot traffic. Using a colour-matched epoxy repair kit, the restoration team preserved the site’s original aesthetics without costly stone replacement.
FAQs
1) Can I restore natural stone myself?
Yes, but the complexity depends on the type of damage. Routine maintenance, such as cleaning and sealing, is manageable with the right tools and products. However, deeper issues like scratches, etching, and cracks require specialised equipment and expertise. Attempting to remove stains with harsh chemicals or using the wrong tools can cause further deterioration. For example, using an acidic cleaner on marble can lead to permanent etching, while applying excessive pressure during polishing can create uneven surfaces. If the damage is superficial, a pH-neutral cleaner and a stone-safe polish may be enough to restore the surface. But if you notice deep scratches, dull patches, or cracks, professional restoration is often the best option. Experts use diamond abrasives, industrial polishers, and specialised sealers to bring stone back to its original condition. Before deciding, assess the severity of the damage and research the correct techniques.
2) How often should I reseal natural stone?
The resealing frequency depends on the stone type, location, and level of use. High-traffic areas like kitchen countertops, entryways, and outdoor patios require sealing every 1-2 years to protect against stains and wear. In contrast, low-traffic surfaces, such as bathroom walls or decorative stone features, may only need sealing every 3-5 years. Porous stones like limestone and sandstone absorb liquids quickly and often require more frequent sealing, while denser stones like granite and quartzite are naturally more resistant. To determine if resealing is necessary, perform a simple water test: place a few drops of water on the surface and observe how long it takes to absorb. If the water soaks in within a few minutes, it’s time to reseal. Regular maintenance, including gentle cleaning with pH-neutral products, can help extend the lifespan of the sealer and maintain the stone’s natural beauty.
3) What is the biggest mistake in stone restoration?
One of the most common mistakes in stone restoration is using the wrong cleaning products. Many homeowners unknowingly use acidic or abrasive cleaners, which can permanently damage the stone’s surface. For example, vinegar and lemon-based cleaners, often considered natural cleaning solutions, can etch marble and limestone. Similarly, harsh scrubbing pads can wear down polished finishes, making the stone appear dull and uneven. Another mistake is neglecting to seal the stone after restoration. Without a protective sealant, the stone becomes vulnerable to moisture, stains, and daily wear. Inadequate polishing techniques can also lead to uneven finishes, leaving some areas shinier than others. To avoid these mistakes, always use pH-neutral stone cleaners, soft cleaning cloths, and professional-grade sealers. If unsure about a product or method, test it on a small, inconspicuous area first. When dealing with significant damage, professional assistance is often the safest option.
4) Can scratches be removed from stone surfaces?
Yes, but the removal method depends on the depth and severity of the scratch. Light surface scratches can often be polished out using a fine-grit polishing pad or a high-quality stone polish. This is especially effective for honed or polished stones like marble and granite. However, deeper scratches require diamond grinding pads to resurface the affected area. The process starts with a coarse grit to remove the scratch, followed by progressively finer grits to restore the original shine. Using improper tools or techniques can worsen the damage, creating an uneven surface. Additionally, some stones, like travertine, have natural pits and textures that make scratch removal more challenging. In cases where the scratch penetrates deeply into the stone, a professional may need to fill it with a resin-based repair compound before polishing. Regular maintenance, such as using protective pads under furniture and avoiding dragging heavy objects, helps prevent future scratches.
5) Is professional stone restoration expensive?
The cost of professional stone restoration varies based on several factors, including the stone type, the extent of damage, and the treatment required. Basic services like cleaning and resealing are generally affordable, but more intensive procedures such as diamond grinding, crack repairs, and resurfacing can be more costly. On average, restoring marble or limestone flooring may range from a few hundred to several thousand dollars, depending on the area’s size and condition. While professional services may seem expensive upfront, they offer long-term benefits by preventing further deterioration. Regular maintenance can reduce the need for frequent restorations, saving money in the long run. Homeowners who neglect stone care often end up paying more for full resurfacing or stone replacement. Investing in routine sealing, proper cleaning products, and professional assessments ensures that natural stone remains in excellent condition for years, preserving both its beauty and structural integrity.
Protect Your Stone with the Right Tools
Restoring natural stone requires precision, the right equipment, and proper techniques. Whether you’re dealing with dull surfaces, stains, or cracks, high-quality restoration tools make all the difference. Investing in proper maintenance keeps stone surfaces looking their best for years. For professional assistance with stone restoration, visit Slique today.
For all your natural stone floor cleaning and polishing needs in Sydney, please call SLIQUE today on 02 9648 0395, or leave an enquiry.