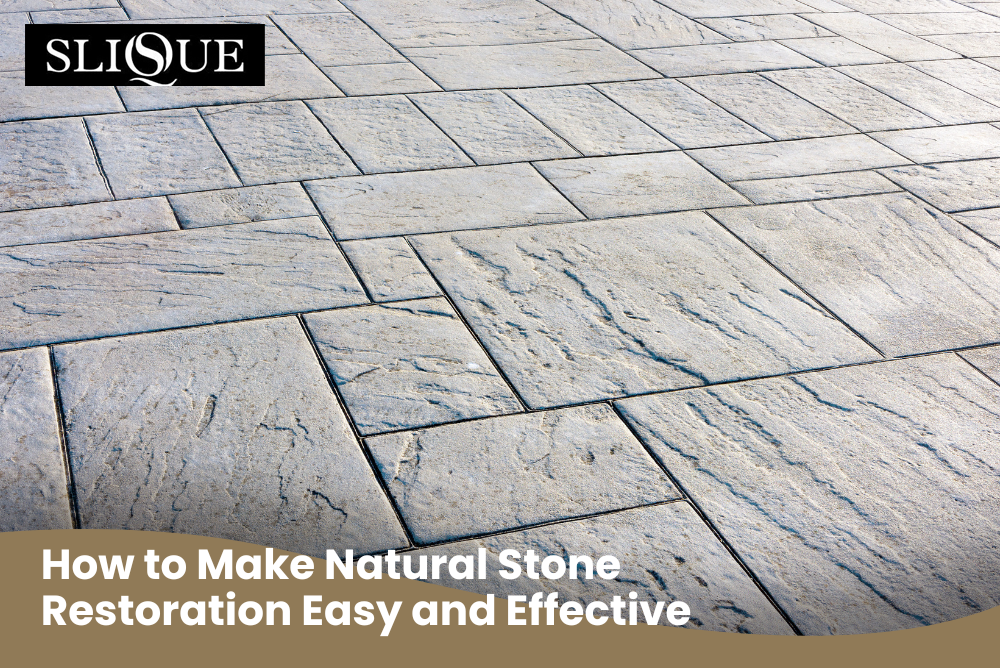
How to Make Natural Stone Restoration Easy and Effective
How to Make Natural Stone Restoration Easy and Effective

Natural stone is timeless. It adds class to homes, offices and public spaces. Whether it’s marble, limestone, travertine or granite, natural stone makes a bold first impression. But as strong as it looks, stone is not immune to damage.
Scratches, etching, fading and stains can creep in over time. When they do, restoration is the answer. But here’s the catch—restoring stone the wrong way can leave things worse than before.
We’ve seen it all—botched DIY jobs, harsh chemicals, dodgy tools and good intentions gone wrong. This article digs into the most common mistakes in natural stone restoration. It shows what to avoid and how to get it right from the start.
If you’re serious about protecting your investment, it’s worth trusting expert tile and stone restoration specialists who know the job inside and out.
Mistake 1: Skipping the Assessment Phase
The first major slip-up? Jumping straight into work without checking the condition of the stone. Many assume all stone problems look the same—dull patches, scratches or discolouration—but each surface tells its own story.
Restoration begins with a full assessment. You’ve got to know the type of stone, the level of wear and whether it’s sealed. Different materials react in different ways. A polish that works on granite might wreck limestone.
Miss this step and you risk using the wrong method, which can lead to:
- Uneven finishes
- New scratches
- Permanent etching
- Sealer failure
For example, one homeowner applied a floor polish meant for ceramic tiles on their honed marble. It left a patchy layer that trapped dirt and moisture. Fixing it took twice the time and cost.
Instead of jumping the gun, look for signs your natural stone needs restoration. Early detection saves effort, cost and long-term damage.
Mistake 2: Using the Wrong Tools
Not all tools are equal when it comes to natural stone. One of the fastest ways to ruin a surface is to grab whatever’s lying around—steel wool, rough pads, generic buffers or acid-based solutions.
Stone surfaces need gentle care and specific gear. The tools should match the finish you’re aiming for—honed, polished or textured. Without the right gear, you can dig into the stone, strip off sealers or leave swirl marks behind.
For instance:
- High-speed polishers need skilled handling
- Diamond pads must suit the stone type and grit stage
- Cleaners should be pH-neutral unless you’re spot treating
The wrong tool not only delivers poor results—it could also void warranties or shorten the life of the stone.
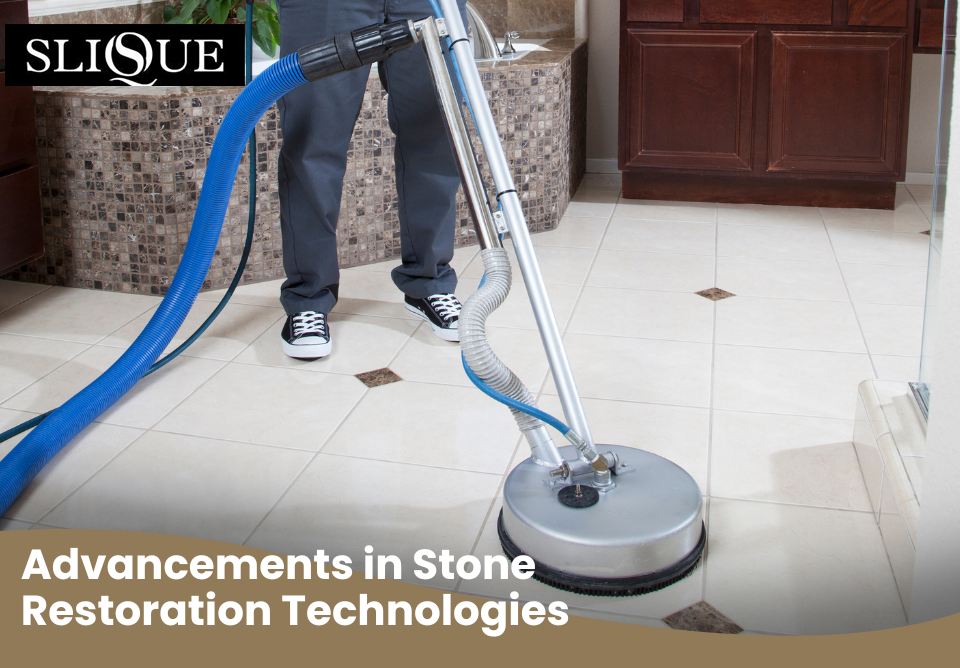
Before diving in, check out these essential tools for restoring natural stone properly. Knowing what to use (and when) is half the job done.
Mistake 3: Over-Polishing the Surface
Everyone loves that mirror-like shine, especially on marble or granite. But too much polish—or the wrong type—can leave the surface slippery, hazy or uneven.
Over-polishing often happens when:
- People apply too many layers of wax or compound
- There’s poor surface prep before polishing
- Machines are used without the right grit progression
You might think polishing more equals better results, but overdoing it can trap dirt under the surface, cause slippage in wet areas or highlight imperfections instead of hiding them.
A good polish starts with proper honing. You bring back the natural sheen, not layer something fake on top. It’s about balance—knowing when to stop and letting the stone’s natural beauty shine through.
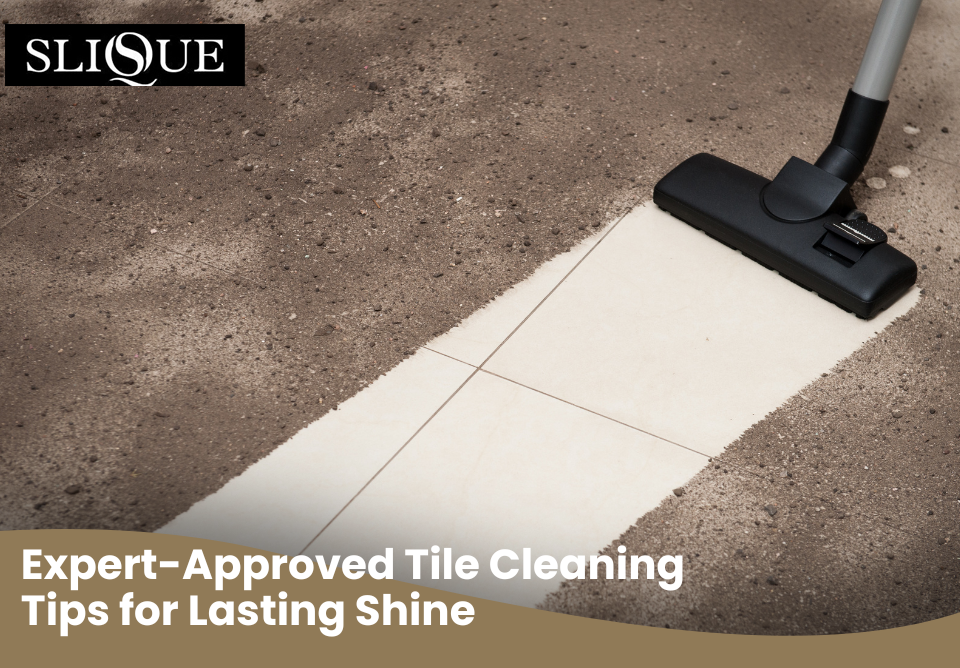
There are simple, expert tips for keeping natural stone looking new without overdoing it. Stick to those and your stone will stay stunning for years.
Mistake 4: Ignoring Sealers or Applying Them Incorrectly
Sealing protects stone from moisture, oil and grime. Still, many skip it or do it wrong. Either way, the result is often discolouration, water damage or stubborn stains that won’t budge.
Here’s what can go wrong:
- Using the wrong type of sealer
- Not letting the stone dry before sealing
- Applying too much or too little
- Forgetting to wipe off the excess
A homeowner once sealed a sandstone patio the day after rain. Moisture under the surface caused the sealer to cloud and trap in mildew. Fixing it required full stripping and reapplication.
Not every stone needs sealing, but many do. Granite, travertine and limestone are porous and benefit from quality sealants. You need to check the porosity, apply the sealer evenly and always allow the right cure time.
Re-sealing is also key. Most sealers wear down over time—especially in high-traffic or outdoor areas. Test the surface every 12–18 months. If water no longer beads, it’s time for a new coat.
Mistake 5: Cleaning with Harsh Chemicals
This mistake doesn’t always show up right away. But over time, cleaning natural stone with acid-based or alkaline-heavy products strips away the protective surface and eats into the pores.
Products like bleach, vinegar and ammonia might work for bathrooms or kitchens, but they don’t belong on marble or limestone. Even “all-purpose” sprays can damage the surface if they aren’t pH-neutral.
Harsh chemicals cause:
- Dullness and fading
- Etching and discolouration
- Sealant failure
- Long-term erosion
Stick with pH-neutral stone cleaners. Use soft cloths or microfibre mops. For stubborn spots, try poultices made for stone. And always rinse with clean water.
One easy test? Drop a few drops of vinegar on your stone in a hidden spot. If it fizzes or leaves a dull mark, your surface is sensitive—and needs care.
Mistake 6: Skipping Regular Maintenance After Restoration
Many people think restoration is a once-and-done fix. But without routine care, that new finish won’t last.
Post-restoration, stone needs:
- Frequent dusting or sweeping
- Weekly damp mopping with safe products
- Annual sealing (if required)
- Spot treatment for spills
Neglecting maintenance leads to fast wear and the return of stains or scratches. A high-end marble bathroom, left unsealed and uncared for, can lose its polish within months due to soap scum and water spots.
Educate everyone who uses the space. Don’t drag furniture, leave spills to sit or use abrasive pads.
Simple habits go a long way—wipe spills as they happen, put mats under wet areas and avoid walking barefoot with oily skin, especially on limestone or sandstone.
Mistake 7: Rushing the Job
Stone restoration is not a race. Each step—from cleaning to sealing—needs time to do its job. Rushing leads to shortcuts and poor results.
Common time-saving errors include:
- Skipping grit levels in honing
- Not letting surfaces dry before sealing
- Buffing too soon after applying compound
For example, applying a sealer over a damp travertine floor locks in moisture. This can lead to cloudy patches that never go away.
Professionals allow for cure times, proper drying and even rest periods between treatments. If you’re doing it yourself, follow each product’s instructions to the letter. If in doubt, step back and wait—it’s worth the delay.
Mistake 8: Not Calling a Professional When It’s Needed
Restoration can be a DIY project, but not always. There’s a fine line between fixing a minor issue and making a bigger mess.
You should call a pro if:
- The damage is deep or widespread
- There’s etching or pitting on soft stone
- You’re not sure what kind of stone it is
- There’s mould or moisture beneath the surface
One family tried to sand down scratches in their marble floor. They ended up exposing a raw, uneven layer that needed full resurfacing. A pro could’ve fixed the original issue in half the time with fewer costs.
There’s no shame in asking for help—especially when natural stone is a long-term investment. Get the job done right the first time and avoid repeat problems down the track.
FAQs
1) What’s the difference between polishing and honing in natural stone restoration?
Polishing and honing are often confused, but they’re different steps. Honing comes first. It smooths the stone’s surface by grinding it with diamond pads. This removes scratches, etching and stains. It gives a matte or satin finish, depending on the level of grit used.
Polishing, on the other hand, adds shine. It uses finer grits and sometimes polishing compounds to reflect light and make the surface glossy. Not every stone needs polishing—some look better honed. Travertine and limestone, for example, often benefit from a honed finish because they’re softer and prone to scratches. Granite and marble, on the other hand, handle polish well and hold that high-gloss look.
Skipping honing and jumping to polish means the shine will sit on top of imperfections, making them stand out even more. Always start with honing and assess whether polishing is needed. The right balance makes the finish last longer and look better.
2) How can I tell if my stone needs sealing?
An easy way to test this is the water drop test. Drop a few beads of water on the stone. If the water stays on the surface and beads up, the sealer is still working. If it soaks in within a few minutes, it’s time to reseal.
Different stones have different porosity levels. Marble, sandstone and travertine are more porous than granite. They often need sealing more frequently. High-traffic or wet areas like bathrooms and outdoor patios also break down sealants faster.
You should also watch for signs like dark spots that don’t go away, uneven colour or water rings. These mean moisture is getting in. When resealing, always clean the surface first and let it dry fully. Apply the sealer evenly and wipe away excess to avoid streaks or build-up.
3) What are the biggest risks of DIY natural stone restoration?
DIY restoration can save money, but it carries big risks if you’re not prepared. The biggest danger is using the wrong method for your stone type. You might over-polish, use acidic cleaners or sand away too much of the surface.
Other risks include:
- Making surfaces slippery
- Locking in moisture with sealer
- Scratching the stone with bad tools
- Creating uneven finishes
A common DIY mistake is trying to fix etching with baking soda or vinegar. These may worsen the damage. Another is using rental polishers without proper training, leading to swirl marks or burns.
Unless you’ve got experience, stick to light maintenance and call in pros for major work. A good rule of thumb: if the job needs power tools, chemicals or repairs beyond cleaning, let someone trained handle it.
4) Why does my stone look worse after cleaning?
If your stone looks dull, streaky or patchy after cleaning, there’s likely a problem with the cleaner or the technique. Acidic or high-alkaline products can strip away sealers or etch the surface. Even pH-neutral cleaners can leave residue if not rinsed off well.
Microfibre cloths or mops that haven’t been rinsed can spread dirt instead of removing it. Dirty water does the same. Also, some stones react badly to hard tap water, leaving behind mineral spots that dull the surface.
Check your process:
- Use clean water and tools
- Avoid overwetting
- Dry the surface properly
If the problem started after using a new product, stop and do a spot test on an inconspicuous area. Go back to a safe, trusted cleaner and re-rinse the area.
5) How often should natural stone be professionally restored?
It depends on traffic, use and the type of stone. On average, homes with natural stone surfaces should get a professional restoration every 3–5 years. High-traffic areas like hotel lobbies or kitchens may need touch-ups yearly.
Outdoor stone exposed to weather will break down faster. Sealer might only last 12–18 months in those conditions. Polished marble in a bathroom might hold up longer if sealed well and cleaned properly.
Between restorations, regular care makes a big difference. Dust often, mop with safe cleaners and wipe up spills fast. When things start to look dull, stained or scratched—even with good upkeep—it’s time to bring in the pros.
Ready to Protect and Restore Your Stone?
Natural stone isn’t cheap, and it isn’t bulletproof. It’s durable, yes—but only if it’s cared for the right way. Restoration isn’t just about fixing what’s wrong. It’s about making sure your investment holds its beauty and value long term.
Mistakes cost time and money. But they’re avoidable. With the right tools, care and know-how, your stone can look brand new for decades. And when the job’s too big or too risky, let the trusted team at Slique handle it. We’ve seen it all—and we know how to bring stone back to life.
For all your natural stone floor cleaning and polishing needs in Sydney, please call SLIQUE today on 02 9648 0395, or leave an enquiry.


