

Natural Stone Restoration: Simple Steps for a Polished Look
Natural Stone Restoration: Simple Steps for a Polished Look

Natural stone surfaces make any space feel elegant and timeless. But over time, scratches, stains, and dull patches can take away their shine. Regular maintenance helps, but sometimes a full restoration is needed to bring back their polished look. Whether it’s marble, granite, limestone, or travertine, knowing how to clean, polish, and protect your stone will keep it looking fresh. If you want professional results, consider reaching out to an expert tile and stone restoration specialist.
This guide breaks down the restoration process into simple steps. With the right techniques, your stone surfaces can stay smooth, shiny, and durable for years.
Why Does Natural Stone Lose Its Shine?
Natural stone is strong, but daily use wears it down. Foot traffic, spills, and cleaning products can cause damage over time. Here are the main reasons stone surfaces lose their polished look:
- Etching: Acidic liquids like wine, coffee, and citrus eat away at the surface, leaving dull marks.
- Scratches: Dragging furniture, walking in shoes with hard soles, or using abrasive cleaners can cause fine scratches.
- Stains: Porous stones like limestone and marble absorb spills, leading to deep stains.
- Water Damage: Hard water deposits or excessive moisture can leave cloudy marks and mineral build-up.
Understanding these issues helps prevent damage and makes restoration easier. For a complete guide to natural stone restoration, check out expert recommendations.
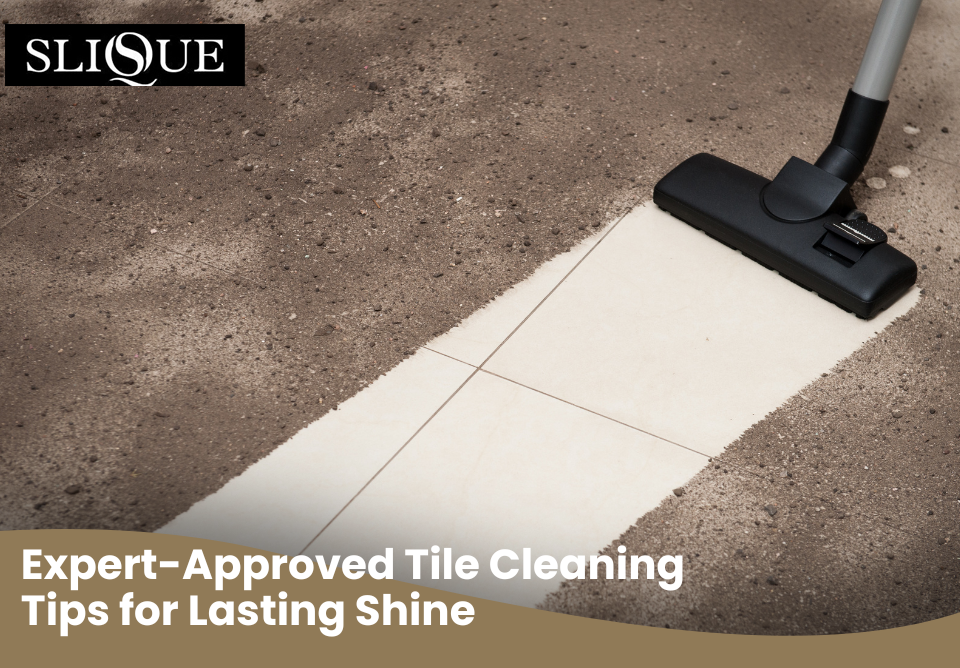
Step 1: Deep Cleaning for a Fresh Surface
Before restoring, you need a clean surface. Dirt, grime, and old sealants can block polishing products from working properly.
Follow these steps to clean natural stone:
- Use a pH-neutral cleaner – Harsh chemicals damage stone, so choose a gentle cleaner made for natural surfaces.
- Scrub with a soft brush – Avoid rough scrubbing pads that scratch the stone. A microfiber cloth or soft-bristle brush works best.
- Rinse with warm water – Remove all cleaning residue to prevent streaks.
- Dry the surface completely – Water left on stone can cause spotting, so wipe it dry with a clean towel.
Regular cleaning prevents build-up, but deeper stains may need extra care. If basic cleaning doesn’t remove stains, move on to the next step in the step-by-step natural stone restoration process.
Step 2: Removing Stains and Etch Marks
Not all stains are the same, so treating them properly makes a difference. Here’s how to handle common stone stains:
- Oil-based stains (grease, cooking oil): Apply a baking soda and water paste, let it sit overnight, then wipe clean.
- Water spots and mineral deposits: Use a mix of vinegar and water on granite or non-acid-sensitive stone. Avoid vinegar on marble or limestone.
- Organic stains (coffee, wine, food): A hydrogen peroxide and baking soda mixture lifts deep stains.
Etch marks need special care. Since they occur from acidic spills, polishing the area with a marble polishing powder helps restore shine. For severe etching, professional refinishing may be needed.
Step 3: Honing and Polishing for a Smooth Finish
Honing and polishing bring out the natural beauty of stone. Honing removes surface scratches, while polishing gives it a glossy look.
- Honing: Uses fine abrasives to smooth out minor scratches and etches. This step is ideal for matte finishes.
- Polishing: Uses polishing powders or diamond pads to bring out a high-gloss finish. Best for marble and granite.
For DIY polishing, a soft cloth and a stone polishing compound work well for small areas. For large surfaces, a floor buffer with diamond pads gives professional results.
Step 4: Sealing for Long-Term Protection
Sealing protects stone from stains, moisture, and wear. Not all stones need sealing, but porous materials like marble, limestone, and travertine do.
To seal your stone:
- Choose the right sealer – Penetrating sealers absorb into the stone, while topical sealers form a protective layer on top.
- Apply in thin layers – Use a clean cloth or roller to spread the sealer evenly.
- Let it dry completely – Most sealers need at least 24 hours to cure fully.
Reapply sealer every 1-2 years for the best protection. Test if your stone needs sealing by placing a few drops of water on the surface. If the water soaks in, it’s time to reseal.
Future Trends in Natural Stone Care
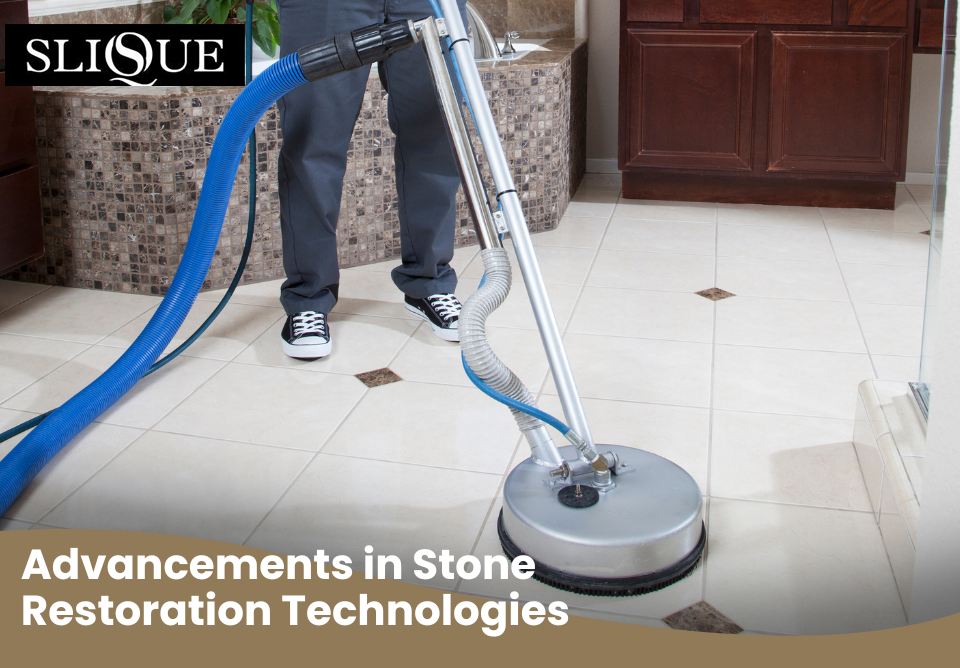
Technology is changing how we care for natural stone. New sealers with longer-lasting protection and eco-friendly cleaners make maintenance easier. Polishing techniques are also improving, allowing for more precise finishes.
One growing trend is UV-cured coatings, which create an extra-durable layer over stone. These coatings protect against scratches, stains, and wear. Smart sensors are also being developed to monitor moisture levels in stone, helping prevent water damage before it starts.
As stone restoration techniques evolve, keeping up with new methods will ensure longer-lasting and better-looking surfaces.
FAQs
1) How often should I clean and seal my natural stone?
Regular cleaning keeps natural stone looking its best. Use a pH-neutral cleaner at least once a week to remove dirt, dust, and minor spills. For high-traffic areas like kitchen countertops, bathroom vanities, and floors, daily wiping with a damp cloth prevents build-up. Sealing depends on the stone type and usage. Most porous stones, like marble and limestone, need sealing every 1-2 years. Granite may last longer between sealings. To check if sealing is needed, place a few drops of water on the surface. If they soak in within a few minutes, it’s time to reseal the stone.
2) Can I use vinegar or bleach to clean natural stone?
No, vinegar and bleach should never be used on natural stone. These harsh cleaners contain acids and chemicals that can damage the surface, leading to etching, discoloration, and loss of shine. Vinegar, even when diluted, erodes softer stones like marble and limestone. Bleach can cause fading and weaken the stone over time. Instead, always use a pH-neutral stone cleaner designed specifically for natural surfaces. If you need to disinfect, choose a mild soap mixed with warm water. For stubborn stains, a paste of baking soda and water works well without causing harm to the stone’s surface.
3) How do I remove deep scratches from stone?
Shallow scratches can be buffed out using a stone polishing compound and a soft cloth. For deeper scratches, honing with fine diamond pads may be needed to remove the damage and restore a smooth finish. This process gradually wears down the surface layer to even out imperfections. If the scratch is severe, professional refinishing is often the best option. Experts use industrial-grade tools and abrasives to restore the stone without causing further damage. To prevent scratches in the future, avoid dragging heavy furniture across stone floors, use cutting boards on stone countertops, and place protective pads under objects.
4) What’s the best way to prevent stains on natural stone?
Preventing stains starts with proper sealing. A high-quality penetrating sealer forms a protective barrier that keeps liquids from soaking into the stone. However, sealing alone isn’t enough. Wipe up spills immediately, especially acidic substances like wine, citrus, and coffee, which can cause etching and discoloration. Use coasters under glasses and placemats under dishes to reduce direct contact with stone surfaces. In bathrooms, keep cosmetics and toiletries in trays to prevent staining from oils and dyes. For floors, place rugs in high-traffic areas to reduce dirt and moisture exposure, helping to maintain the stone’s natural beauty for longer.
5) Is professional stone restoration worth it?
Yes, professional stone restoration is worth it, especially for deep scratches, etching, or widespread dullness. DIY methods work for minor issues, but professionals have specialised tools and techniques to restore stone without risk of further damage. They use diamond polishing pads, advanced honing methods, and high-quality sealers to achieve a flawless finish. If your stone looks dull, has deep stains, or has lost its original shine, a professional service can bring it back to life. Restoration also extends the stone’s lifespan, preventing costly replacements. Investing in expert care ensures your natural stone remains beautiful and durable for years.
Bring Back the Beauty of Your Stone
Restoring natural stone isn’t complicated when you follow the right steps. Cleaning, stain removal, polishing, and sealing all play a role in keeping surfaces looking polished and elegant. Investing in proper care now prevents costly repairs later.
If you’re looking for high-quality stone restoration in Sydney, trust the experts at Slique to transform your floors with the best techniques in the industry.
For all your natural stone floor cleaning and polishing needs in Sydney, please call SLIQUE today on 02 9648 0395, or leave an enquiry.
