

Restore Your Natural Stone Surfaces Like a Pro
Restore Your Natural Stone Surfaces Like a Pro

Natural stone is beautiful. It’s bold, earthy, and timeless. But it doesn’t stay that way without care. Time, traffic, weather, and spills wear it down. Scratches build up. Shine fades. But here’s the good news—restoring it isn’t magic. It’s a process. And with the right knowledge, you can do it like a pro.
Visit any space with limestone floors or granite benchtops, and you’ll feel the difference stone makes. If those surfaces are dull or stained, it drags the whole space down. But when they’re clean and glowing? Pure elegance. That’s where expert tile and stone restoration come into their own.
Let’s break down how you can bring your stone surfaces back to life—and keep them looking sharp.
Why Natural Stone Wears Out Over Time
Stone looks tough—and it is. But it’s not bulletproof. Homes, patios, and office spaces use stone for its strength and natural finish. But over time, things like foot traffic, spills, cleaning products, and weather all take a toll.
Here’s how:
- Etching: Acids from lemon juice, wine, or even some cleaners leave marks.
- Staining: Porous stones absorb oil, dirt, and water.
- Scratches: Grit on shoes or furniture movement causes damage.
- Dullness: Polish fades with age and cleaning.
Stone types like marble and travertine are more prone to wear than granite or quartzite. Understanding what your stone is made of helps you treat it right.
Rediscover elegance with professional stone restoration and bring back the look you fell in love with when it was first installed.
Know Your Stone: Different Types, Different Needs
Stone isn’t one-size-fits-all. You wouldn’t polish sandstone the same way you’d treat marble. Let’s take a look at common natural stones and what makes each unique:
- Marble: Soft, porous, and prone to etching. Needs sealing and gentle care.
- Limestone: Earthy look, also porous. Sealing helps stop stains.
- Travertine: Has holes and natural pits. Often filled before polishing.
- Granite: Dense and durable. Stain-resistant but still benefits from sealing.
- Slate: Layered, textured. Needs deep cleaning to lift grime in grooves.
The first step in any restoration job is figuring out what stone you’re dealing with. Use a water test—drip a bit of water on the surface. If it darkens quickly, it’s porous and needs sealing. Knowing your stone’s traits saves you from damaging it by accident.
Want to go pro? Follow this step-by-step natural stone restoration process for the best results every time.
Tools of the Trade: What You’ll Need to Get Started
To restore stone properly, you need the right gear. No shortcuts here. Whether you’re tackling floors or countertops, here’s your checklist:
- pH-neutral cleaner: Avoid harsh chemicals. These clean without damaging.
- Microfibre cloths: Soft and safe for stone.
- Poultice: Draws out deep stains.
- Stone polish: Brings back the shine.
- Sealer: Protects from future stains.
- Diamond pads: For heavy-duty polish and grind work (best left to pros).
DIY jobs work for light wear. But deep scratches, heavy etching, or cracked grout might need pro help. The key is knowing your limit. When in doubt, call in the experts.
For care you can trust, these top restoration tips for maintaining natural stone beauty will help keep your stone looking good between deep cleans.
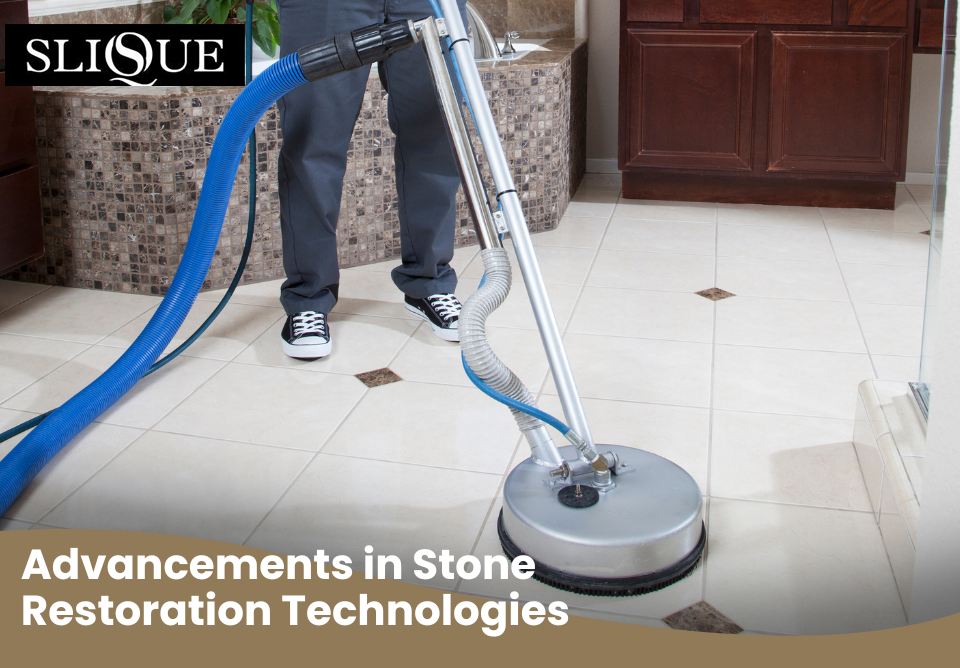
The Real Work: Cleaning, Polishing, and Sealing
Now it’s time to get hands-on. A full restoration has three steps—cleaning, polishing, and sealing.
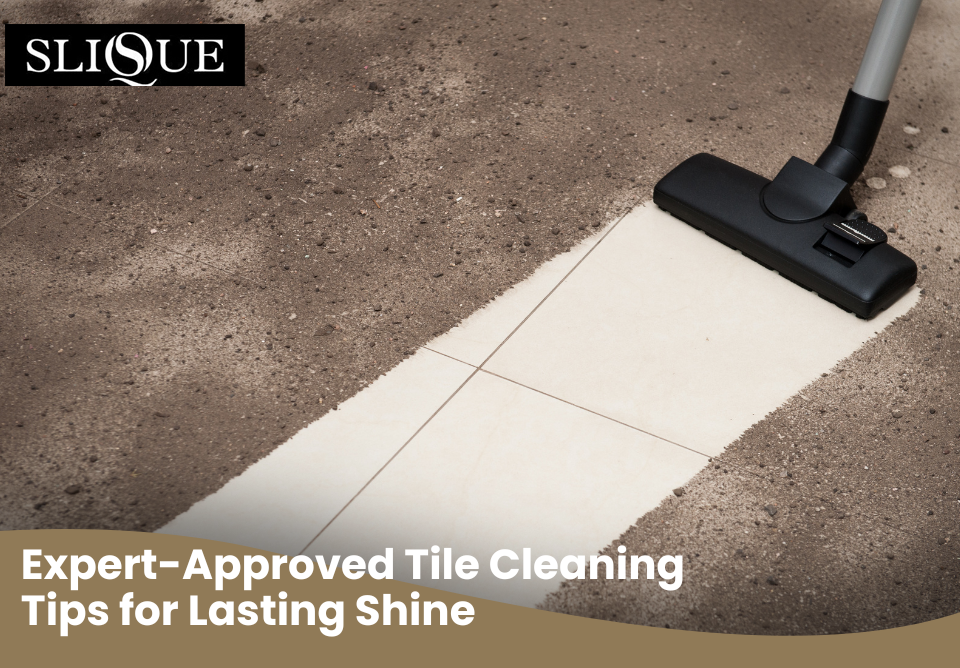
- Cleaning
Use a pH-neutral stone cleaner. Spray it on, let it sit a few minutes, then wipe with a microfibre cloth. For grime in textured stone like slate, use a soft-bristle brush. Avoid vinegar or bleach. They eat away at stone surfaces. - Polishing
For marble or travertine, polishing brings back the glossy look. Use a polishing compound and a soft pad. Work in small sections. Circular motion is best. For high-traffic floors, consider a diamond pad system—but only if you know what you’re doing. - Sealing
Last step. Use a penetrating sealer. Apply evenly with a sponge or roller. Let it sit, then buff off the extra. Sealing keeps moisture and dirt from soaking in. For kitchens or bathrooms, reapply every 1–2 years.
Consistent maintenance is the key. Even if you’re not restoring every season, light clean-ups go a long way.
Real Case: Travertine Floors in a Sydney Beach House
Let’s zoom in on a real-world example. A homeowner in Sydney had travertine tiles running through their entire open-plan space. Years of salt air, sandy feet, and kitchen spills made them dull, stained, and scratched.
They booked a restoration job. Here’s what happened:
- Deep Clean: Used a stone-safe alkaline cleaner to remove built-up grease and grime.
- Hole Repair: Travertine’s natural pits were cleaned and refilled.
- Polish & Hone: Diamond pads smoothed out scratches. A soft sheen came back.
- Seal: A breathable sealer was applied to lock out salt and spills.
Result? The floors looked brand new—without replacing a single tile. The client saved money and added value to their property.
Indoor vs Outdoor Stone: Different Game, Same Goal
Outdoor stone takes more of a beating than indoor. Rain, UV rays, tree sap, bird droppings—you name it. Here’s how to tackle outside areas:
- Use high-pressure water only when needed. Too much can wear away soft stone.
- Look for mould or lichen. These grow in shady spots. Remove using a stone-safe mould remover.
- Seal more often. Outdoor surfaces need resealing every 12 months.
Compare that to indoor stone, where it’s mostly about foot traffic and kitchen spills. Adjust your care based on location.
Mistakes to Avoid When Restoring Stone
Many DIY jobs go wrong because of common mistakes. Here’s what to dodge:
- Using vinegar or bleach: These cause etching or discolouration.
- Skipping the sealer: Unsealed stone absorbs spills fast.
- Using the wrong polish: Each stone needs its own type. Don’t mix them up.
- Scrubbing too hard: You don’t want to scratch the surface while cleaning it.
Take it slow. Test small areas first. And always check what kind of stone you have before starting anything.
Future-Proof Your Stone Surfaces
Stone is built to last. But like anything, it needs upkeep. If you want your marble kitchen bench to shine in 10 years—or your outdoor tiles to stay solid through every storm—plan ahead.
Some future tips:
- Smart sealers: New formulas last longer and resist oil and water better.
- Sensor technology: Some high-end installs include sensors to alert for cracks or water damage.
- Eco-friendly cleaners: More Aussie brands now offer sustainable stone-safe products.
Stay ahead of wear by staying informed. Restoration isn’t a one-time job—it’s a cycle.
Choosing the Right Help: What to Look for in a Stone Pro
Sometimes, calling a professional is the smartest move. But how do you know who’s legit?
Look for:
- Specialised experience in your type of stone
- Before and after photos from past jobs
- Custom plans based on your space and lifestyle
- Clear quotes, not vague numbers
A good provider won’t rush. They’ll inspect first, then explain what needs doing. That’s how trust is built—and how surfaces get properly restored.
Frequently Asked Questions
1) Can I restore natural stone on my own, or should I hire a pro?
Yes, you can restore natural stone yourself, but only if the damage is light. Small stains, minor dullness, or early signs of etching can be handled with the right products and a bit of elbow grease. Use pH-neutral cleaners, a soft cloth, and stone-safe polish. But for deep scratches, serious etching, or cracked grout lines, it’s best to call in a professional. A trained restorer has access to commercial-grade tools, including diamond polishing pads and professional-grade sealers. They also know how to match the treatment to the stone type, which helps prevent future damage. If you’re unsure, start with a consultation.
2) How often should I reseal my stone surfaces?
It depends on the type of stone and its location. For high-use areas like kitchen benchtops, resealing once a year is usually best. Bathroom stone might need it every 18 months. Outdoor stone, especially in high-rain or high-sun areas, needs sealing at least once a year due to exposure. You can test your sealer by dropping water on the surface—if it soaks in quickly, it’s time to reseal. Using a premium, breathable sealer also helps extend the lifespan between applications. Always follow the manufacturer’s instructions.
3) What’s the best way to prevent stains on natural stone?
Prevention starts with sealing. A good sealer keeps liquids and oils from soaking in. Clean up spills fast, especially from things like wine, lemon juice, or oil. Use mats and rugs in high-traffic spots. For kitchen surfaces, use chopping boards and avoid placing hot pans directly on the stone. Wipe regularly with a soft cloth and pH-neutral cleaner. Avoid harsh cleaners—no vinegar, bleach, or ammonia. And if you see dark spots forming, treat them with a poultice to draw out the stain before it sets.
4) What are signs that my stone needs professional restoration?
If your stone has deep scratches, dull patches that won’t polish out, or stains that resist cleaning, it’s time to call in a pro. Etching that changes the texture of the surface, especially on marble or travertine, also needs expert care. Crumbling grout lines, loose tiles, or pitted holes that keep filling with grime are more signs. Often, the first clue is visual—your floors or benchtops just don’t look sharp anymore. If regular cleaning doesn’t bring back the look, don’t wait for it to get worse. Restoration can make it look new again.
5) Is it safe to use store-bought stone cleaners?
Only if they’re labelled safe for natural stone. Many off-the-shelf cleaners are too acidic or too harsh. They break down sealers or etch the stone’s surface. Stick to products that clearly say “pH-neutral” and “stone-safe.” Avoid anything with citrus oils, bleach, ammonia, or vinegar. If you’re unsure, test on a hidden spot first. For regular care, you don’t need strong cleaners—gentle and consistent is better. For deep cleans or stain removal, use a poultice or get advice from a stone care expert.
Stone Done Right Starts Here
Restoring natural stone doesn’t just bring back its shine—it brings back your space’s soul. When you understand your stone, care for it with the right tools, and know when to ask for help, your surfaces will last for decades.
Whether you’re reviving limestone floors or polishing granite counters, the process isn’t hard—it just takes patience and the right know-how.
To see what’s possible, visit Slique and see how your space can shine again. Give your stone the care it deserves.
For all your natural stone floor cleaning and polishing needs in Sydney, please call SLIQUE today on 02 9648 0395, or leave an enquiry.
